
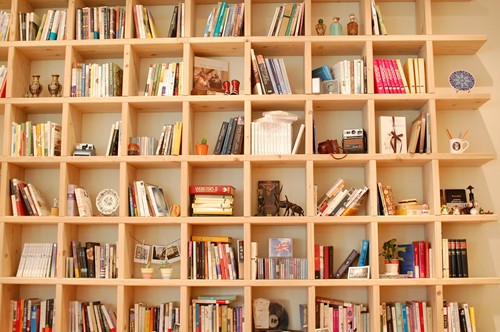
In the modern home, nothing combines practicality and style like a cubby bookshelf. Children can keep books or toys organized. They set the perfect backdrop for a display of photos, figurines, delicate dishes or other collectibles.
And if you size them right, just add some baskets to turn some of your shelves into drawers. Here's how to create a cubby bookshelf from scratch.
There's no reason to recreate the wheel. You can find precise diagrams online that help you understand what you're going for. You can then adapt these plans to fit your space.
For our guide, we'll create nine same size cubes each one x one x one foot. But if your skill is more advanced, you might choose the alternate larger and smaller cubbies both to fit different types of items and because it adds visual appeal.
You'll need:
Measure and mark lightly with a pencil. This mark is on the cut line, so it shouldn't be seen on the finished product. You need:
Coat each piece with two to three coats of tung oil for extra luster. And let it dry completely, eight hours between coats.
Take your time. Glue and clamp one side at a time minus the dividers. Get some help if needed. It can be tricky. Let the glue dry before drilling and inserting screws for more permanent stabilization.
Now the dividers should slide right in. Use wood plugs to cover up your hardware.
Attaching band veneers on cut edges gives the shelf a professional, finished look that many DIY projects lack. Generally, you'll simply iron these on carefully. Add the back and secure your shelf to studs. Cubby bookshelves will look like a jungle gym to some children, so take this precaution if children ever visit.
And that's how to create a cubby bookshelf. For more fun and DIY-friendly home projects, follow our blog.

Hello! I'm Barb Jones, Realtor
There are many choices when choosing a Realtor to work with when Selling or Buying a home. Generally, it is one of the greatest investments of your lifetime, so it's an important decision. I provide my clients with one-on-one top notch personalized service to bring them success in their Real Estate transaction(s). My strong skillset includes Negotiations, Attention to Detail, Great Communication, Marketing and guiding you every step of the way. I am also skilled at keeping your stress to a minimum and I have a large list of resources to recommend when needed. I invite you to schedule a consultation with me to discuss your situation and we can discuss a plan to meet your needs. (No obligation.)
Top producing Realtor . . .
Century 21 Masters Award Recipient, Century 21 Quality Service Award winner year after year (based on Client Surveys)
C21 C & O President's club